I used to buy lemon juice in a plastic yellow lemon at the grocery store. I thought it was better than buying a lemon and not using it all. This was when my family wasn’t eating very healthily. When I learned my son was getting sick from palm oil, I cleaned up our eating. I started buying many more fresh foods and cooking and baking everything from scratch.
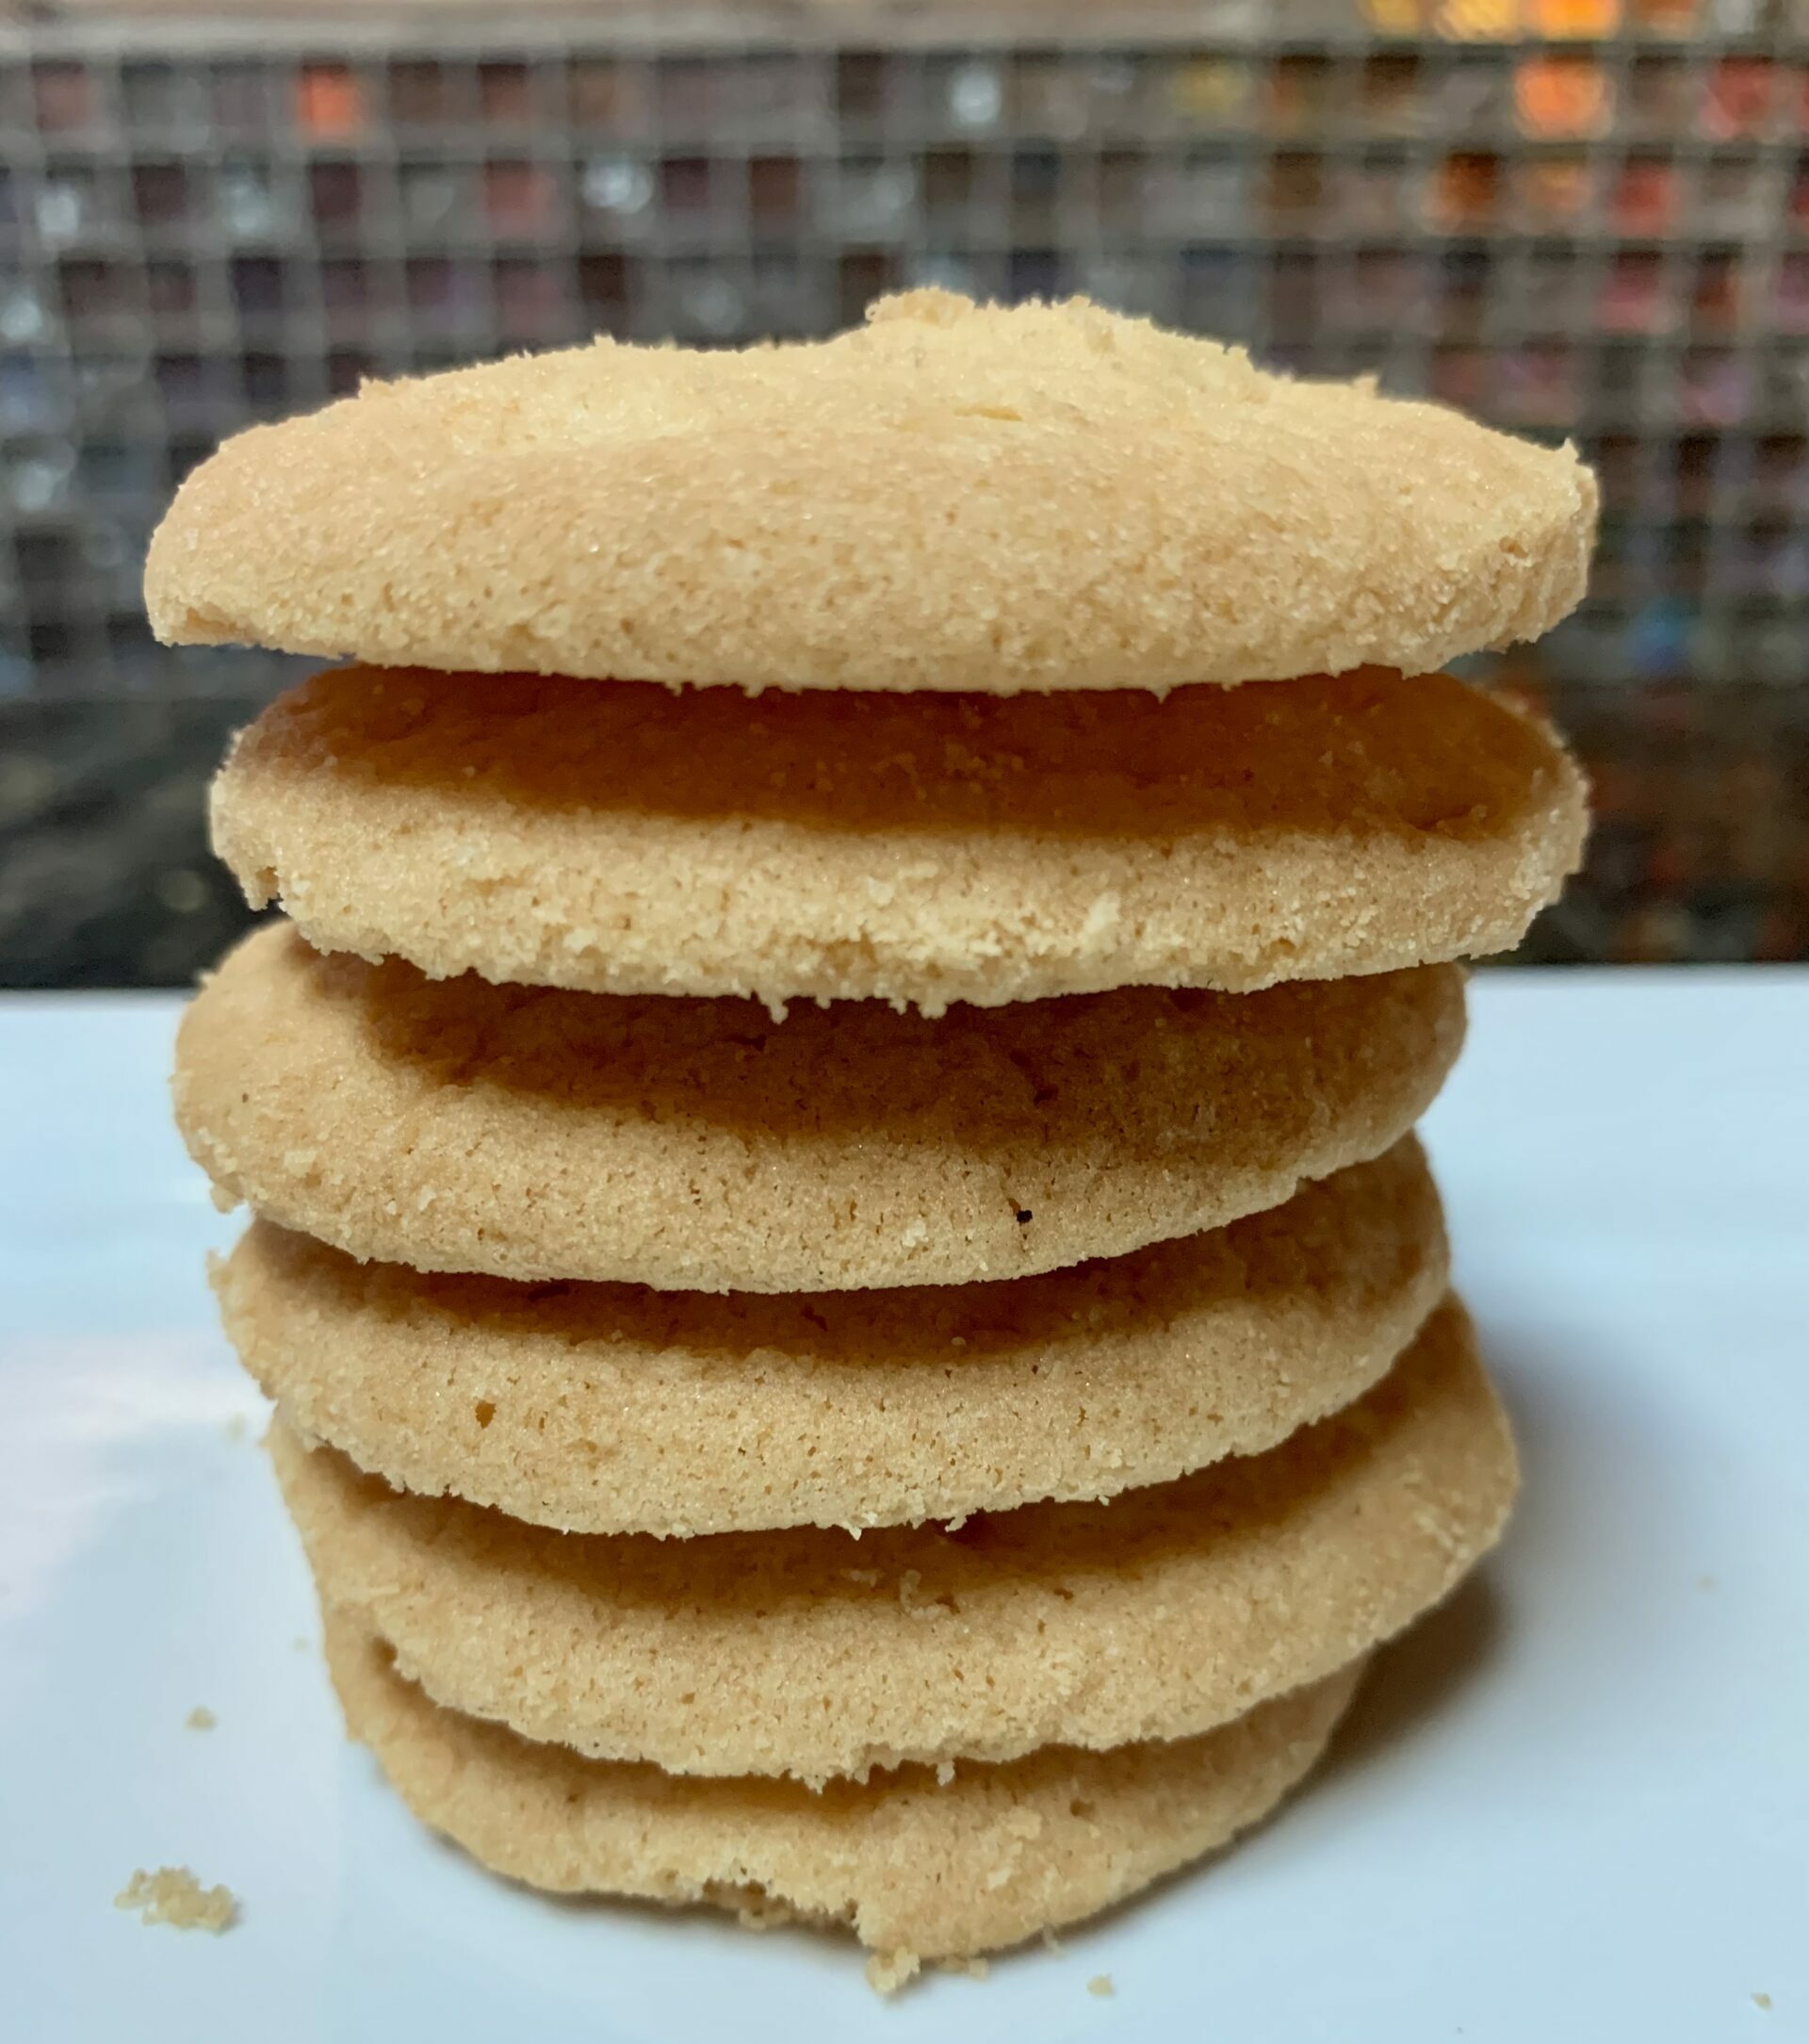
A great way to use a partial lemon is to make crispy lemon cookies. My son and I made them for a teachers’ “fruit and dessert” buffet at his school. We put them on a plate with a bowl of raspberries in the middle. (I wish I took a picture of it because it looked stunning.) These thin and crisp cookies are easy to make and best of all, palm oil free.
They have a delicate and crispy buttery texture balanced with a tart, zesty lemon flavor. I like making them when I have extra lemon. If you have 100% lemon juice in a bottle or plastic container, you can use that as well. However, adding zest from a lemon makes them better.
Keep reading for best recipe tips. You want to make them thin but not so thin they break or burn. In addition to making them with fresh lemon, you can swap out lime or orange as well. While lemon seems more traditional, and I haven’t tried this myself, I’m sure they would be excellent.
Crispy Lemon Cookies
Set the butter out for about 30 – 60 minutes before making this recipe. You want it to be room temperature before using it. In addition, you should plan time for the dough to chill. You can put it in the refrigerator for 30 – 60 minutes or in the freezer for 15 – 30 minutes. This will help solidify the butter and help prevent the cookies from spreading when they are baking.
Prep time is about 10 minutes. This recipe makes approx 32 crispy lemon cookies.

What You Need to Make Thin Lemon Cookies
Ingredients
- 1 cup (2 sticks) unsalted butter, at room temperature
- 1½ cups granulated sugar
- 2 tablespoons freshly squeezed lemon juice
- 2 tablespoons lemon zest
- ¼ teaspoon pure vanilla extract
- 2¼ cups flour
- 1 teaspoon baking powder
- ¼ cup cornstarch
- 1 teaspoon salt (omit if using salted butter)
Optional topping ideas
Powdered sugar for sprinkling on top OR a simple lemon icing:
- 1½ cups powdered sugar
- 3 tablespoons lemon juice
Equipment
- Large mixing bowl
- Medium mixing bowl
- Cookie sheet
- Parchment paper or silicone baking mat
- Electric hand mixer or stand mixer (optional)
- Spoon
- Measuring spoons and cups
- Small bowl for collecting lemon juice
- Grater for lemon zest
- Dough scooper (optional)
Step-by-Step Directions
- Set butter out to get to room temperature 30 minutes in advance.
- In a large mixing bowl, cream together the butter and sugar with an electric mixer or by hand until light and fluffy, about 2 minutes.
- Add in the lemon juice, lemon zest, and pure vanilla extract, incorporating until mixed. Set aside.
- In medium bowl, combine flour, cornstarch, baking soda, and salt (if using).
- Slowly add the flour mixture into the wet ingredients. Mix until incorporated but do not overmix. The dough should be soft.
- Leave dough in the bowl and seal completely with plastic wrap. Set in refrigerator for 30 – 60 minutes or the freezer for 15 – 30 minutes.
- Midway through the dough chilling time, preheat oven to 325°F (160°C) and line a cookie sheet with parchment paper.
- Use cookie dough scooper or tablespoon and scoop dough into 1-inch balls. Round them in your hands. Place 12 dough balls (if using standard-sized baking sheet) onto the prepared tray.
- Using the flat bottom of a glass, gently press down into each dough ball. If the dough sticks to the glass, dust it with flour. For thin cookies, they should be about ¼ inch thick before baked.
- Place in oven on center rack, and bake for 10 – 12 minutes. Oven times vary. Turn on the oven light; remove cookies when the edges turn lightly browned.
- While the first batch is baking, scoop out the remaining dough balls. If you have a second cookie tray, line it, and set the dough balls on the tray until the first batch is done baking. Otherwise, leave them in the bowl where the dough was.
- Remove baking sheet from oven, and set to cool. Leave cookies on the sheet. After 3 minutes, remove them onto a cooling rack.
- Set the second batch of cookies in the oven to bake and repeat steps 10 and 12. Repeat for the remaining dough.

Tips for Making
- Make sure to use freshly squeezed lemon juice for the best flavor. You can use bottled lemon juice if that’s what you have.
- Don’t overmix the dough. This can make the cookies tough.
- Be sure butter is at room temperature.
- Chill the dough to prevent the cookies from spreading. They are meant to be thin, but chilling helps keep them remain intact by helping to solidify the butter.
Storing Thin Lemon Cookies So They Stay Crispy
When they are completely cooled, you can store crispy lemon cookies in an airtight container. Keep them on the counter, out of direct sunlight. Don’t keep them in the refrigerator which will increase the moisture, and they will lose their crispiness.
You can also freeze them for up to 3 months. It’s best to place them in a single layer on a baking sheet, and freeze for 30 minutes first. Then transfer them to a freezer-safe bag, squeezing out the extra air before sealing. You can also make the dough and seal it in an airtight bag and freeze it for up to 3 months.

Variations
Gluten free thin lemon cookies
You can make gluten free crispy lemon cookies by replacing the all-purpose flour with a one-to-one gluten free flour. My favorite gluten free flours are Bob’s Red Mill 1-to-1 Gluten Free Flour and King Arthur Gluten Free Measure for Measure Flour. In my opinion, these even-exchange flours are best when baking gluten free cookies and desserts, as they are less drying than using gf flours such as coconut or almond.
I buy gluten free flour at Target, Walmart, Safeway, Fry’s, Kroger, etc. I’ve also purchased them on Amazon and directly from the companies to get the best prices. (However, Bob’s Red Mill doesn’t sell online to customers anymore.)
Using orange or lime instead of lemon
Get creative! You can also make crispy orange cookies or crispy lime cookies by replacing the lemon juice and zest with either citrus.

Topping Ideas
My family tends to eat them as is but when the cookies are completely cooled, you may want to add a topping. Or make a combination: Serve some as is (“plain”) and others with a topping. Here are some easy ideas:
- Sprinkle with powdered sugar (confectioners sugar). Sprinkle on when the cookies are cooled, just before serving.
- Serve them with a lemon icing (recipe above) which combines lemon juice and powdered sugar.
- Top with a homemade vanilla frosting.

FAQs
Do you have to chill the dough before baking crispy lemon cookies?
Chilling the dough helps the cookies retain their shape and texture during baking. Chill dough in the fridge or freezer to help solidify the butter before baking.
Do you need lemon zest to make thin and crispy lemon cookies?
Adding lemon zest adds depth and complexity to the cookie. If you don’t have zest, you can still make them, just add another teaspoon of lemon juice for more lemon flavor.
What do crispy lemon thins taste like?
Crispy lemon thins have a delicate, buttery texture that is balanced by the bright, tart flavor of the lemon. There is a hint of sweetness, and the lemon flavor is not overpowering.
Can I replace lemon with lime or orange?
Yes, you can use any type of citrus you like, such as lime, grapefruit, or orange. Just replace the lemon zest and juice with the zest and juice of the citrus fruit you choose.

Fresh Baked Bliss with 8-Ingredients
Sweet and tangy and a nice way to use up a fresh lemon, these crispy lemon cookies are ideal to serve for a coffee, tea, brunch, or dessert. They are delicate and light, and easy to make.
I used to be someone who bought premade cookie dough and “made” cookies by popping them in the oven. Once we learned about my son’s palm oil allergy, I started baking from scratch. Over time, I learned how easy it is to make homemade cookies — just by having baking staples on hand and some basic equipment.
One of the best parts about baking is you can control the ingredients. For this reason, I encourage you to use a real lemon but if you don’t have one, you can use bottled real lemon juice. It’s a great way to use up a lemon should you have leftover from another recipe. I use these tips about zesting lemons to be sure I get the most of it as I can.
Remember to use pure vanilla extract — not imitation vanilla — so they will be palm oil free as well. Use real butter as well.
If you enjoy fruit-flavored cookies, try these easy thumbprint cookies and this kolacky recipe. Learn about other cookies without palm oil and how to make palm oil free desserts.
Enjoy these delicious lemony cookies. They are perfect for a sweet treat or for serving at a summer party. If you make this recipe, please let me know in the Comments what prompted you to make them and if you served them with anything.

Crispy Lemon Cookies
Equipment
- Large mixing bowl
- Medium mixing bowl
- Cookie sheet
- Parchment paper or silicone baking mat
- Electric hand mixer or stand mixer (optional)
- Spoon
- Measuring spoons and cups
- Small bowl for collecting lemon juice
- Grater for lemon zest
- Dough scooper (optional)
Ingredients
- 1 cup 2 sticks unsalted butter, at room temperature
- 1½ cups granulated sugar
- 2 tablespoons freshly squeezed lemon juice
- 2 tablespoons lemon zest
- ¼ teaspoon pure vanilla extract
- 2¼ cups flour
- 1 teaspoon baking powder
- ¼ cup cornstarch
- 1 teaspoon salt omit if using salted butter
Optional lemon glaze
- 1½ cups powdered sugar
- 3 tablespoons lemon juice
Optional topping
- powdered sugar to sprinkle on just before serving
Instructions
- Set butter out to get to room temperature 30 minutes in advance.
- In a large mixing bowl, cream together butter and sugar with mixer or by hand until light and fluffy.
- Add in the lemon juice, lemon zest, and pure vanilla extract. Mix and set aside.
- In medium bowl, combine flour, cornstarch, baking soda, and salt (if using).
- Slowly add the flour mixture into the wet ingredients. Mix until incorporated but do not overmix. The dough should be soft.
- Leave dough in the bowl and seal completely with plastic wrap. Set in refrigerator for 30 - 60 minutes or the freezer for 15 - 30 minutes.
- Midway through the dough chilling time, preheat oven to 325°F (160°C). Line cookie sheet with parchment paper.
- Scoop dough into 1-inch balls then round them in your hands. Place 12 dough balls (if using standard-sized baking sheet) onto the prepared tray.
- Using the flat bottom of a glass, gently press down into each dough ball. If the dough sticks to the glass, dust it with flour. For thin cookies, they should be about ¼ inch thick before baked.
- Place in oven on center rack, and bake for 10 - 12 minutes. Oven times vary. Turn on the oven light; remove cookies when the edges turn lightly browned.
- While the first batch is baking, scoop out the remaining dough balls. If you have a second cookie tray, line it, and set the dough balls on the tray until the first batch is done baking. Otherwise, leave them in the bowl where the dough was.
- Remove baking sheet from oven, and set to cool. Leave cookies on the sheet. After 3 minutes, remove them onto a cooling rack.
- Set the second batch of cookies in the oven to bake and repeat steps 10 and 12. Repeat for the remaining dough.
Notes
- Be sure butter is at room temperature.
- Don't overmix the dough. Combine ingredients but don't overmix.
- Chill the dough before baking to prevent the cookies from spreading. While they are meant to be thin, chilling helps to solidify the butter.
- Flatten dough after forming dough balls so they are thin after baking.
- Store in airtight container on counter or in freezer, not in refrigerator.

